
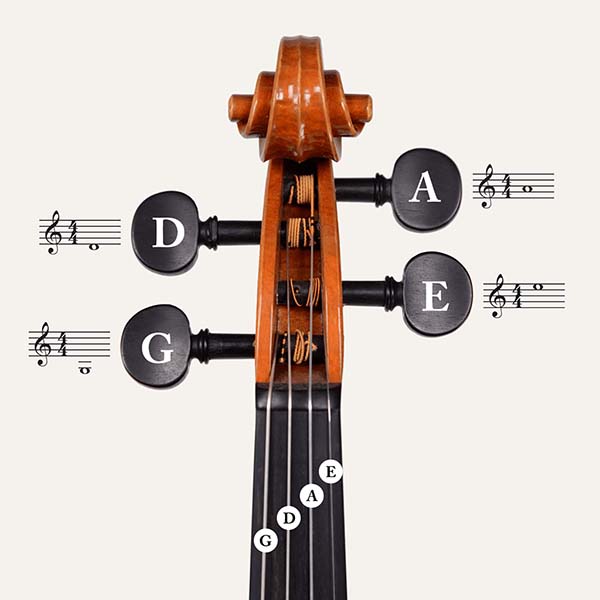
Step 1: Take a Reference Picture
Capture a photo of the current string arrangement. This will help you remember how the strings wind around the pegs.
Note: Strings on one side wind in one direction, while those on the opposite side wind in the opposite direction. (Toward the peg head!)

Step 2: Change One String at a Time
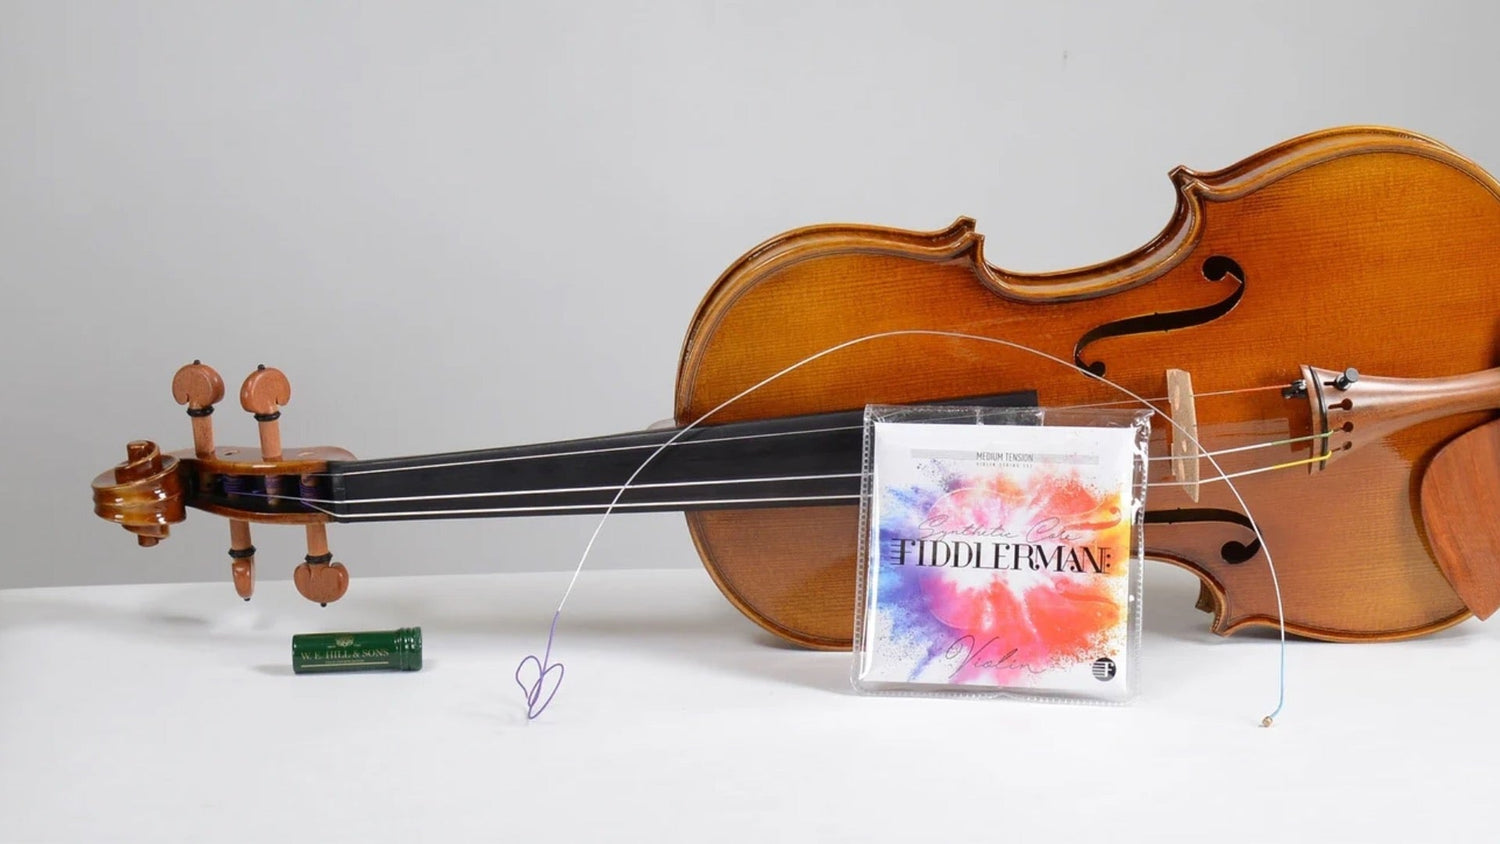
Choose the first string to replace. Loosen it enough to remove the ball end from the tailpiece.

Step 3: Remove the Old String
Unwind the rest of the string and pull the end out of the peg hole.
Step 4: Insert the New String
Insert the ball end of the new string into the tailpiece.
Feed the other end through the peg hole.

Step 5: Wind the String
Rotate the peg in the correct tightening direction. Refer back to your reference image for guidance.

Step 6: Tune the String
Gradually tune the string back to its pitch using a tuner.
Step 7: Repeat for Remaining Strings
Repeat the process for each of the remaining strings until all are replaced.
Check out these videos for more info:
Good Luck!
Enjoy playing your violin with fresh strings!